
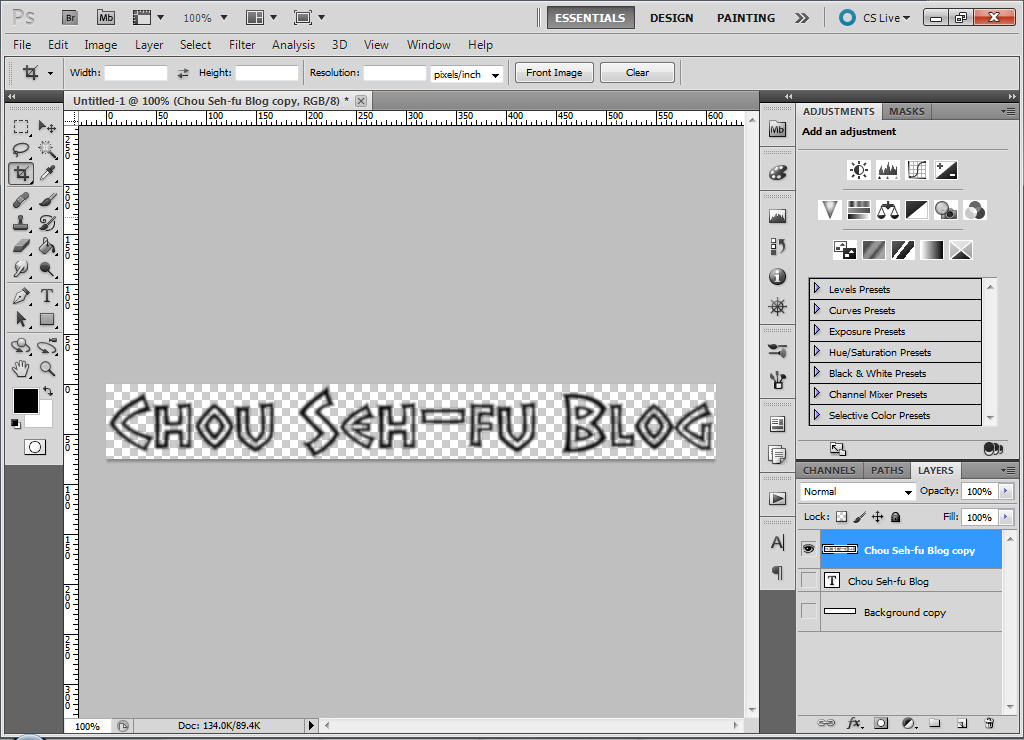
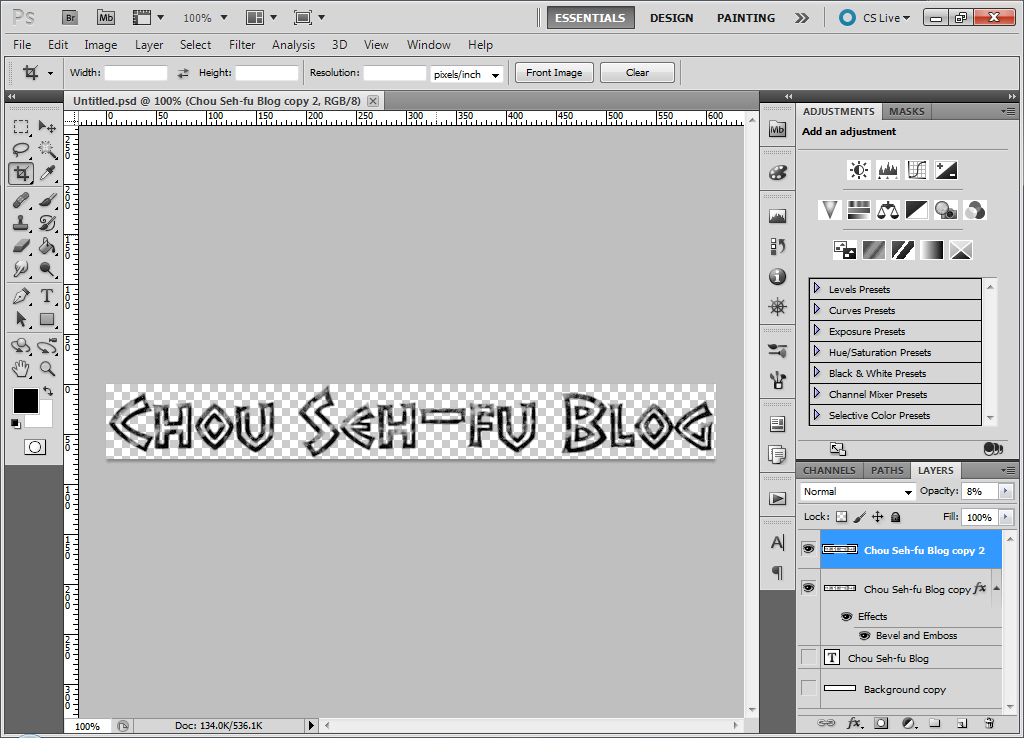
For a while, this blog used an image for the blog title using an un-distressed font. Unfortunately, this image seemed shockingly black — and just a little too crisp and clean.

After experimenting with a number of different methods for distressing fonts, the following procedure was ultimately settled upon:
- Open Photoshop, and create a new page 610 px wide X 72 px high.
- Select the Text tool and type out, “Chou Seh-fu Blog,” in the Grecian Empire font at 70 px. This creates the original (un-distressed type).
- Right-click on the text layer and choose Duplicate.
- Turn off the visibility of the original text layer. (Keep it in case you make an error & need to start over!)
- Right-click on the duplicate layer and choose Rasterize Type.

- Select Filter > Blur > Gaussian and set filter to a 1 px radius. Click OK.

- Select Filter > Sharpen > Smart Sharpen, and set the filter as follows:
Amount: 500%
Radius: 0.5px
Remove: Gaussian Blur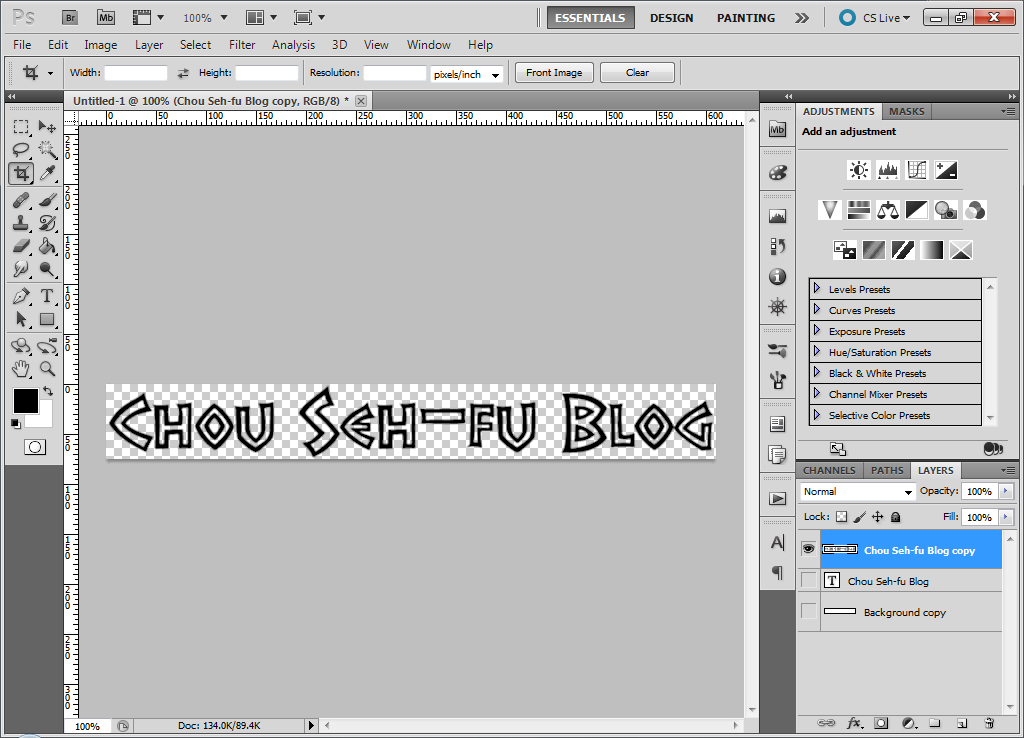

- Duplicate this layer and turn off the visibility of the top layer.
- Select the lower (original rasterized) layer.
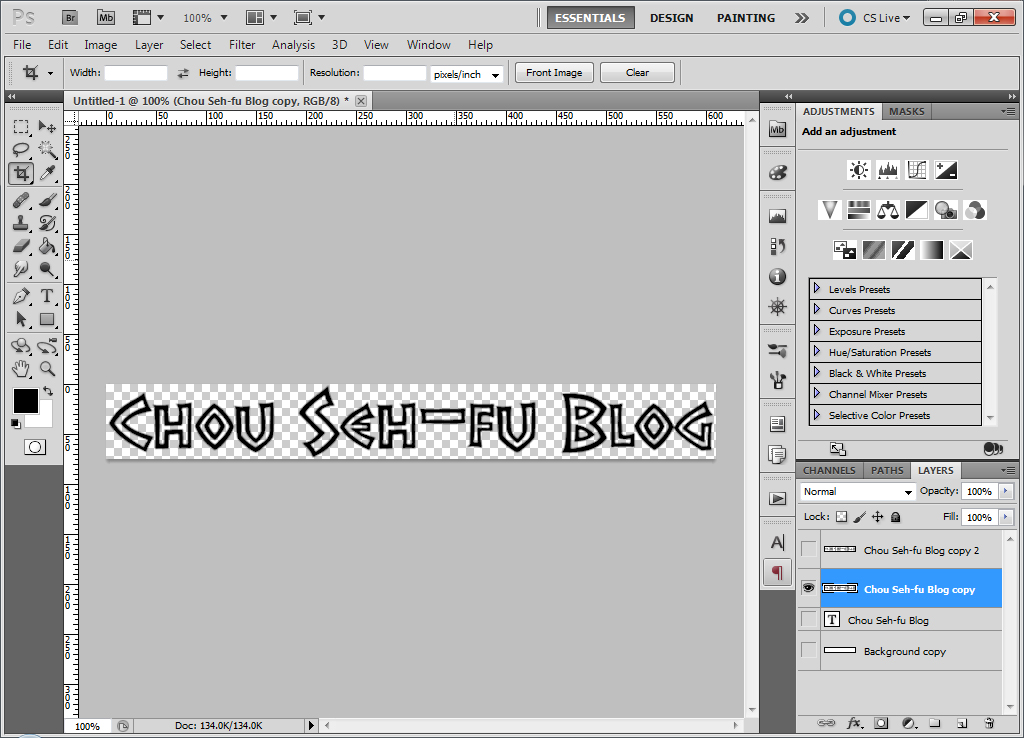
- Click on the layer thumbnail and choose Bevel > Emboss > Texture. Choose Clouds, and use the following settings:
Scale: 95%
Depth: 100% - Click OK.


- Choose Filter > Noise > Add Noise. Use the following settings:
Amount: 15%
Distribution: Gaussian
Monochromatic: ✓


- Choose Filter > Filter Gallery > Artistic > Plastic Wrap. Use the following settings:
Highlight Strength: 10
Detail: 12
Smoothness: 11. - Click OK.


- That’s actually a little too much. To dial it back a bit, click on the top layer and make it visible again. Set its Opacity to 8%.
- Click OK.

Postscript: It is a simple matter to further transform this black-and-white image into color.
- Select Image > Mode > Grayscale.
- Choose Merge and then Discard.
- After this, select Image > Mode > Duotone.
- Choose Custom and Monotone, clicking on the color picker for the color of your choice.
- Now click OK.

- Select Image > Mode > RGB. (The file will not be able to save as a PNG otherwise).
- Save file with a different name so that the previous (black ink) version is not overwritten!