

There is an automatic installation process for WordPress on GoDaddy, but often it is necessary to manually install WordPress (last year, I tried using it to install WordPress on 4 different sites hosted by GoDaddy, and their automatic system failed 75% of the time).
My suggestion is that you skip the automatic WordPress installation entirely, and perform a clean manual install, starting at Step #2.
Checklist:
- If you’ve tried the automatic installation and it fails, you need to uninstall it. While there is an automatic uninstall, I have never –NEVER– seen it work successfully. So you’ll have to do a manual uninstall:
- Use Dreamweaver or Filezilla to delete the WordPress folder on your online site.
- Make sure that a MySQL database for WordPress wasn’t created:
- Click on Web Hosting on the GoDaddy page.
- Click on the website you tried to install WordPress, and click Launch.
- Click on Databases > MySQL.
- If the database was created, delete it by clicking the X (Delete) icon.
- You now need to create a WordPress database.
- Make sure you are logged into GoDaddy.
- Click on the black My Account button and choose Web Hosting.
- Click on the website you tried to install WordPress, and click Launch.
- Click on Databases > MySQL.
- Click Create Database button.
- Description: WordPress
- MySQL Database/User Name: {3 letters followed by 13 numbers}
Database/User Name:Â ______________________________ - Password & Confirm Password: {your database password}
Database Password:Â ______________________________ - MySQL Version: 5.0
- Allow Direct Database Access: No
- Write down your MySQL Database / Username and Password.
- Click OK.
- During database creation, the Status for your database will read: Pending Setup.
- When the process is complete, the status will say: Setup. (This step can take 30 minutes to complete.)
- Click on the Actions button and choose Details. Write down your Host Name.
Host Name: ______________________________ - Do not close this browser window or tab! Proceed to Step 3.
- In another browser tab, get the official detailed instructions for installing WordPress. (If the procedure is no longer available on this link, Google “install WordPress“).
- Download the latest version of WordPress from the page. This is available from the large red Download button on the top right-hand side of the page.
- When the download is complete, drag the downloaded WordPress folder into the offline directory containing your website. (You may rename the wordpress directory to blog, if you wish.)
- Double-click on wordpress (or blog) directory. Copy wp-config-sample.php file and rename the copy to wp-config.php.
- Edit the wp-config.php file with Database Name, Database User Name, Database Password, and Database Host. (Remember with GoDaddy, the Database Name and the Database User Name are the same.) You may cut and paste this information into the file from the (still-open) browser tab from step 2(O).
- If using NotePad++ for editing, click Format and make sure the file is encoded in ANSI. Do not encode in UTF-8. Save the file.
- Use Dreamweaver or Filezilla to upload the wordpress or blog directory to your online site. This takes about 20 minutes.
- Run the install script from a browser window (eg: http://yourSiteName.com/blog/wp-admin/install.php). Do not put “www.” before “yourSiteName“!
- Set up your blog User Name and Password (these should be different from your Database User Name and Database Password). You will also need to supply your e-mail address.
Blog User Name:Â ______________________________
Blog Password:Â ______________________________
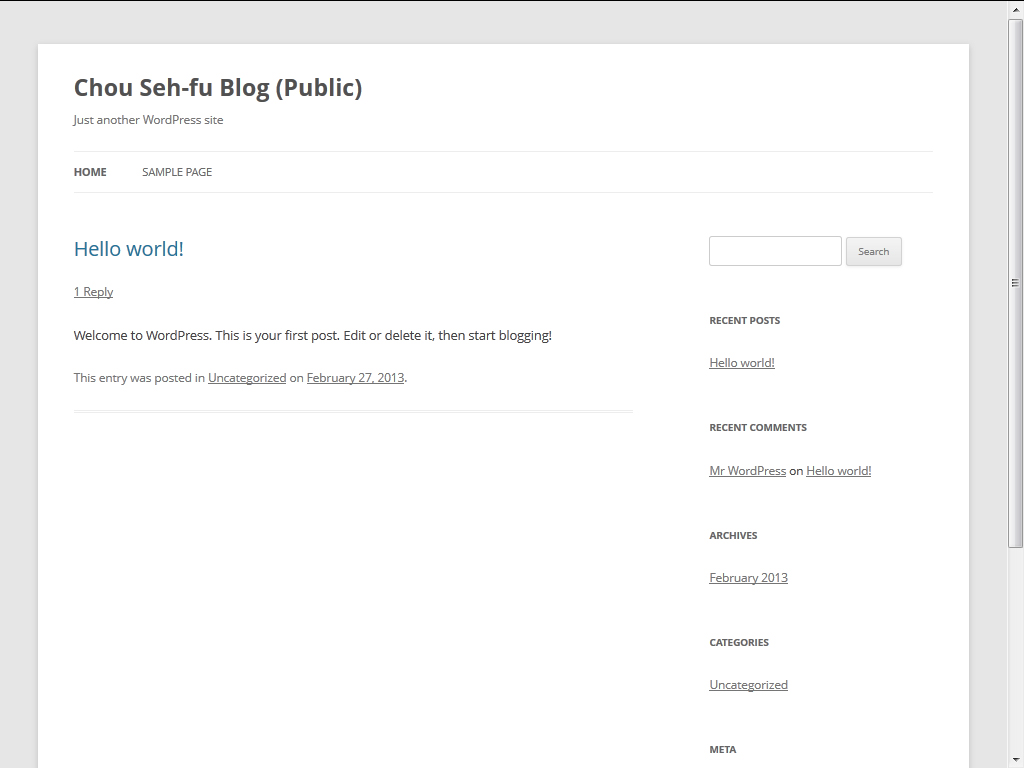
At present, the default theme is Twenty Twelve, which results in the first page of your blog looking something like this:
This is a test of my new avatar. It should appear as an Athenian owl to the left of this comment.
(If it appears, it will be 40 px X 40 px.)
This is a test of the new visitor’s default avatar. It appears instead of the standard “Mystery Man†avatar.